
Bring this – not that
The real gear list for your first bike touring adventure

Before my summer 2025 bike tour, I wrote a Substack post on my gear. At the time I didn’t have a lot of confidence that I’d chosen the right equipment and clothing, and figured I’d learn as I traveled. I did, for sure. I dumped a lot of stuff in the first two weeks. I lost a few things. And I bought a few things.
So now that I’m preparing for my three-week Rhine River Valley tour, I’m thinking about my gear list again.
I created my list by googling, reading other Substacks like this one, and leaning on my backpacking experience to pack what I would need in warm and cool weather, since I was planning to go north to Scandinavia. But even though I practiced packing in my Austin living room, when I got to France and tried to pack up for the road, it didn’t fit. So demoralizing. I was like Johnny Appleseed, dropping bits of this and that as I traveled.
I hope that this article can help you pack wisely and successfully, but every person and trip is different, so follow your gut and do what seems right for you and your situation.
Note: in your research, you have undoubtedly come across the terms “bike touring” and “bikepacking.” What’s the difference? Touring generally means on paved routes, while bikepacking is on dirt or gravel, often in remote areas where you might backpack. We cycle tourists can benefit from the additional research and gear that’s gone into the newer sport, but I’m going to focus on bike touring on paved roads, using more traditional packs (and not the smaller packs that are frequently strapped to the tubes). However, feel free to experiment and use whatever makes sense to you.
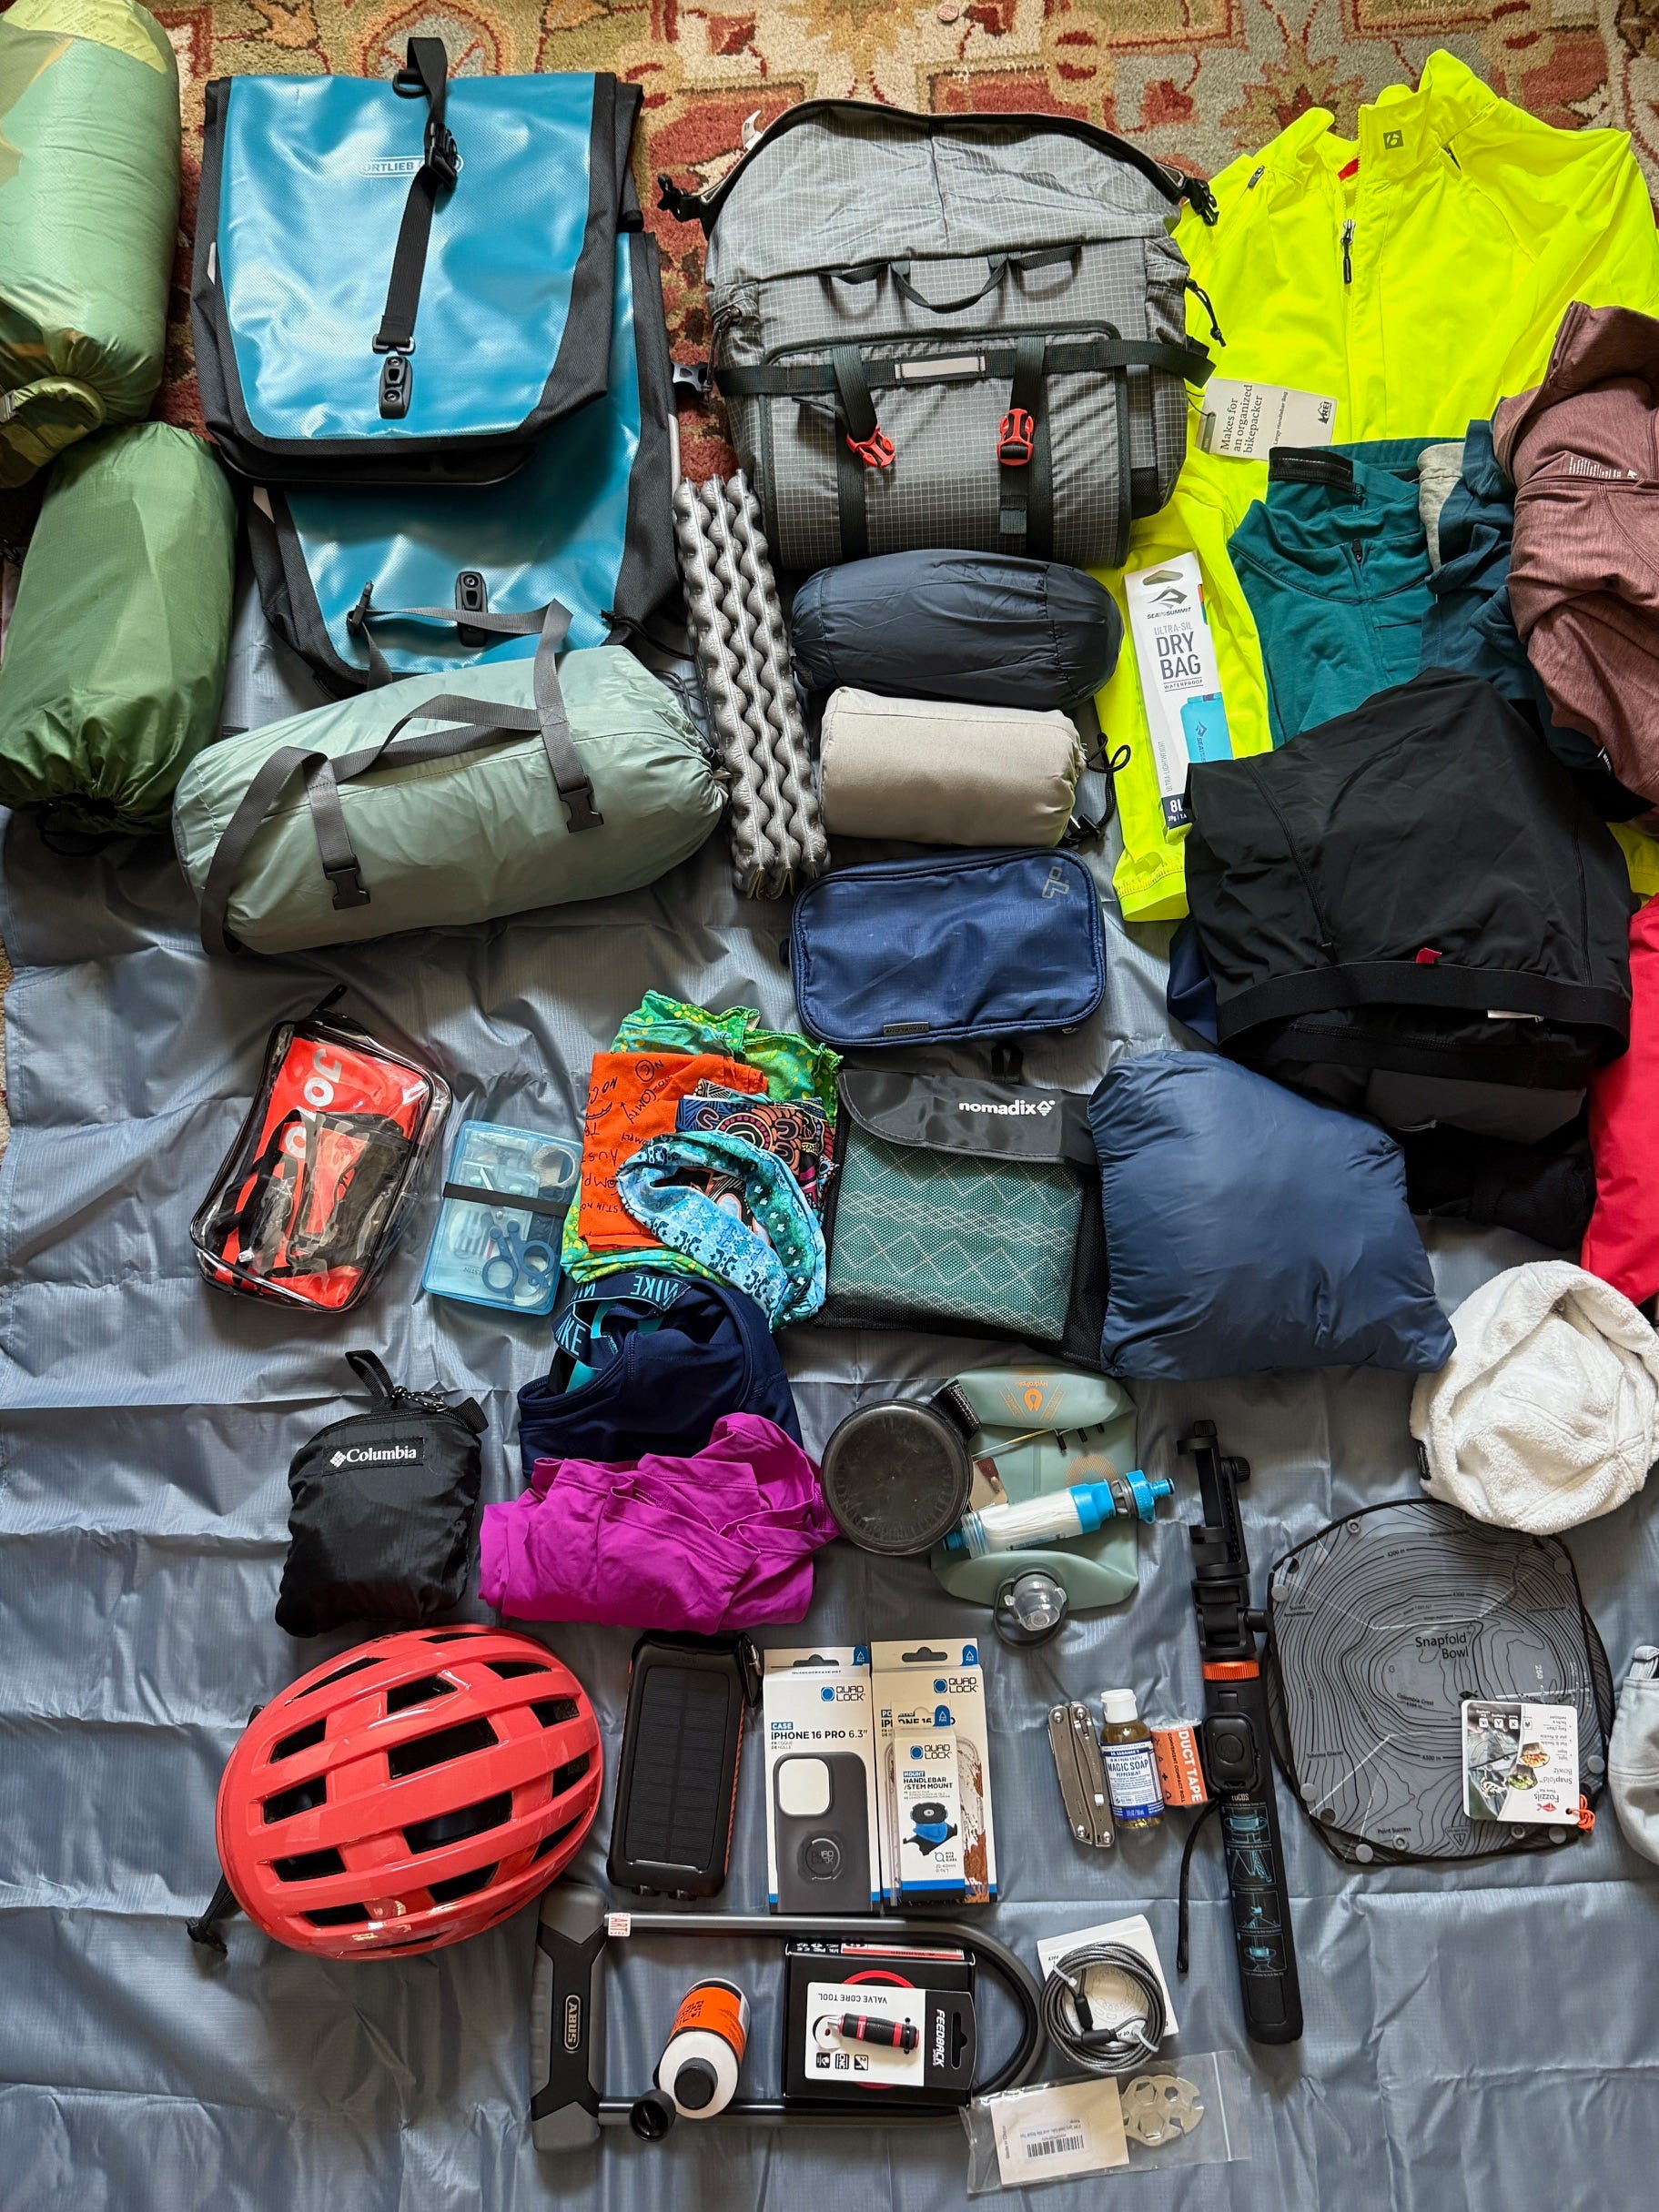
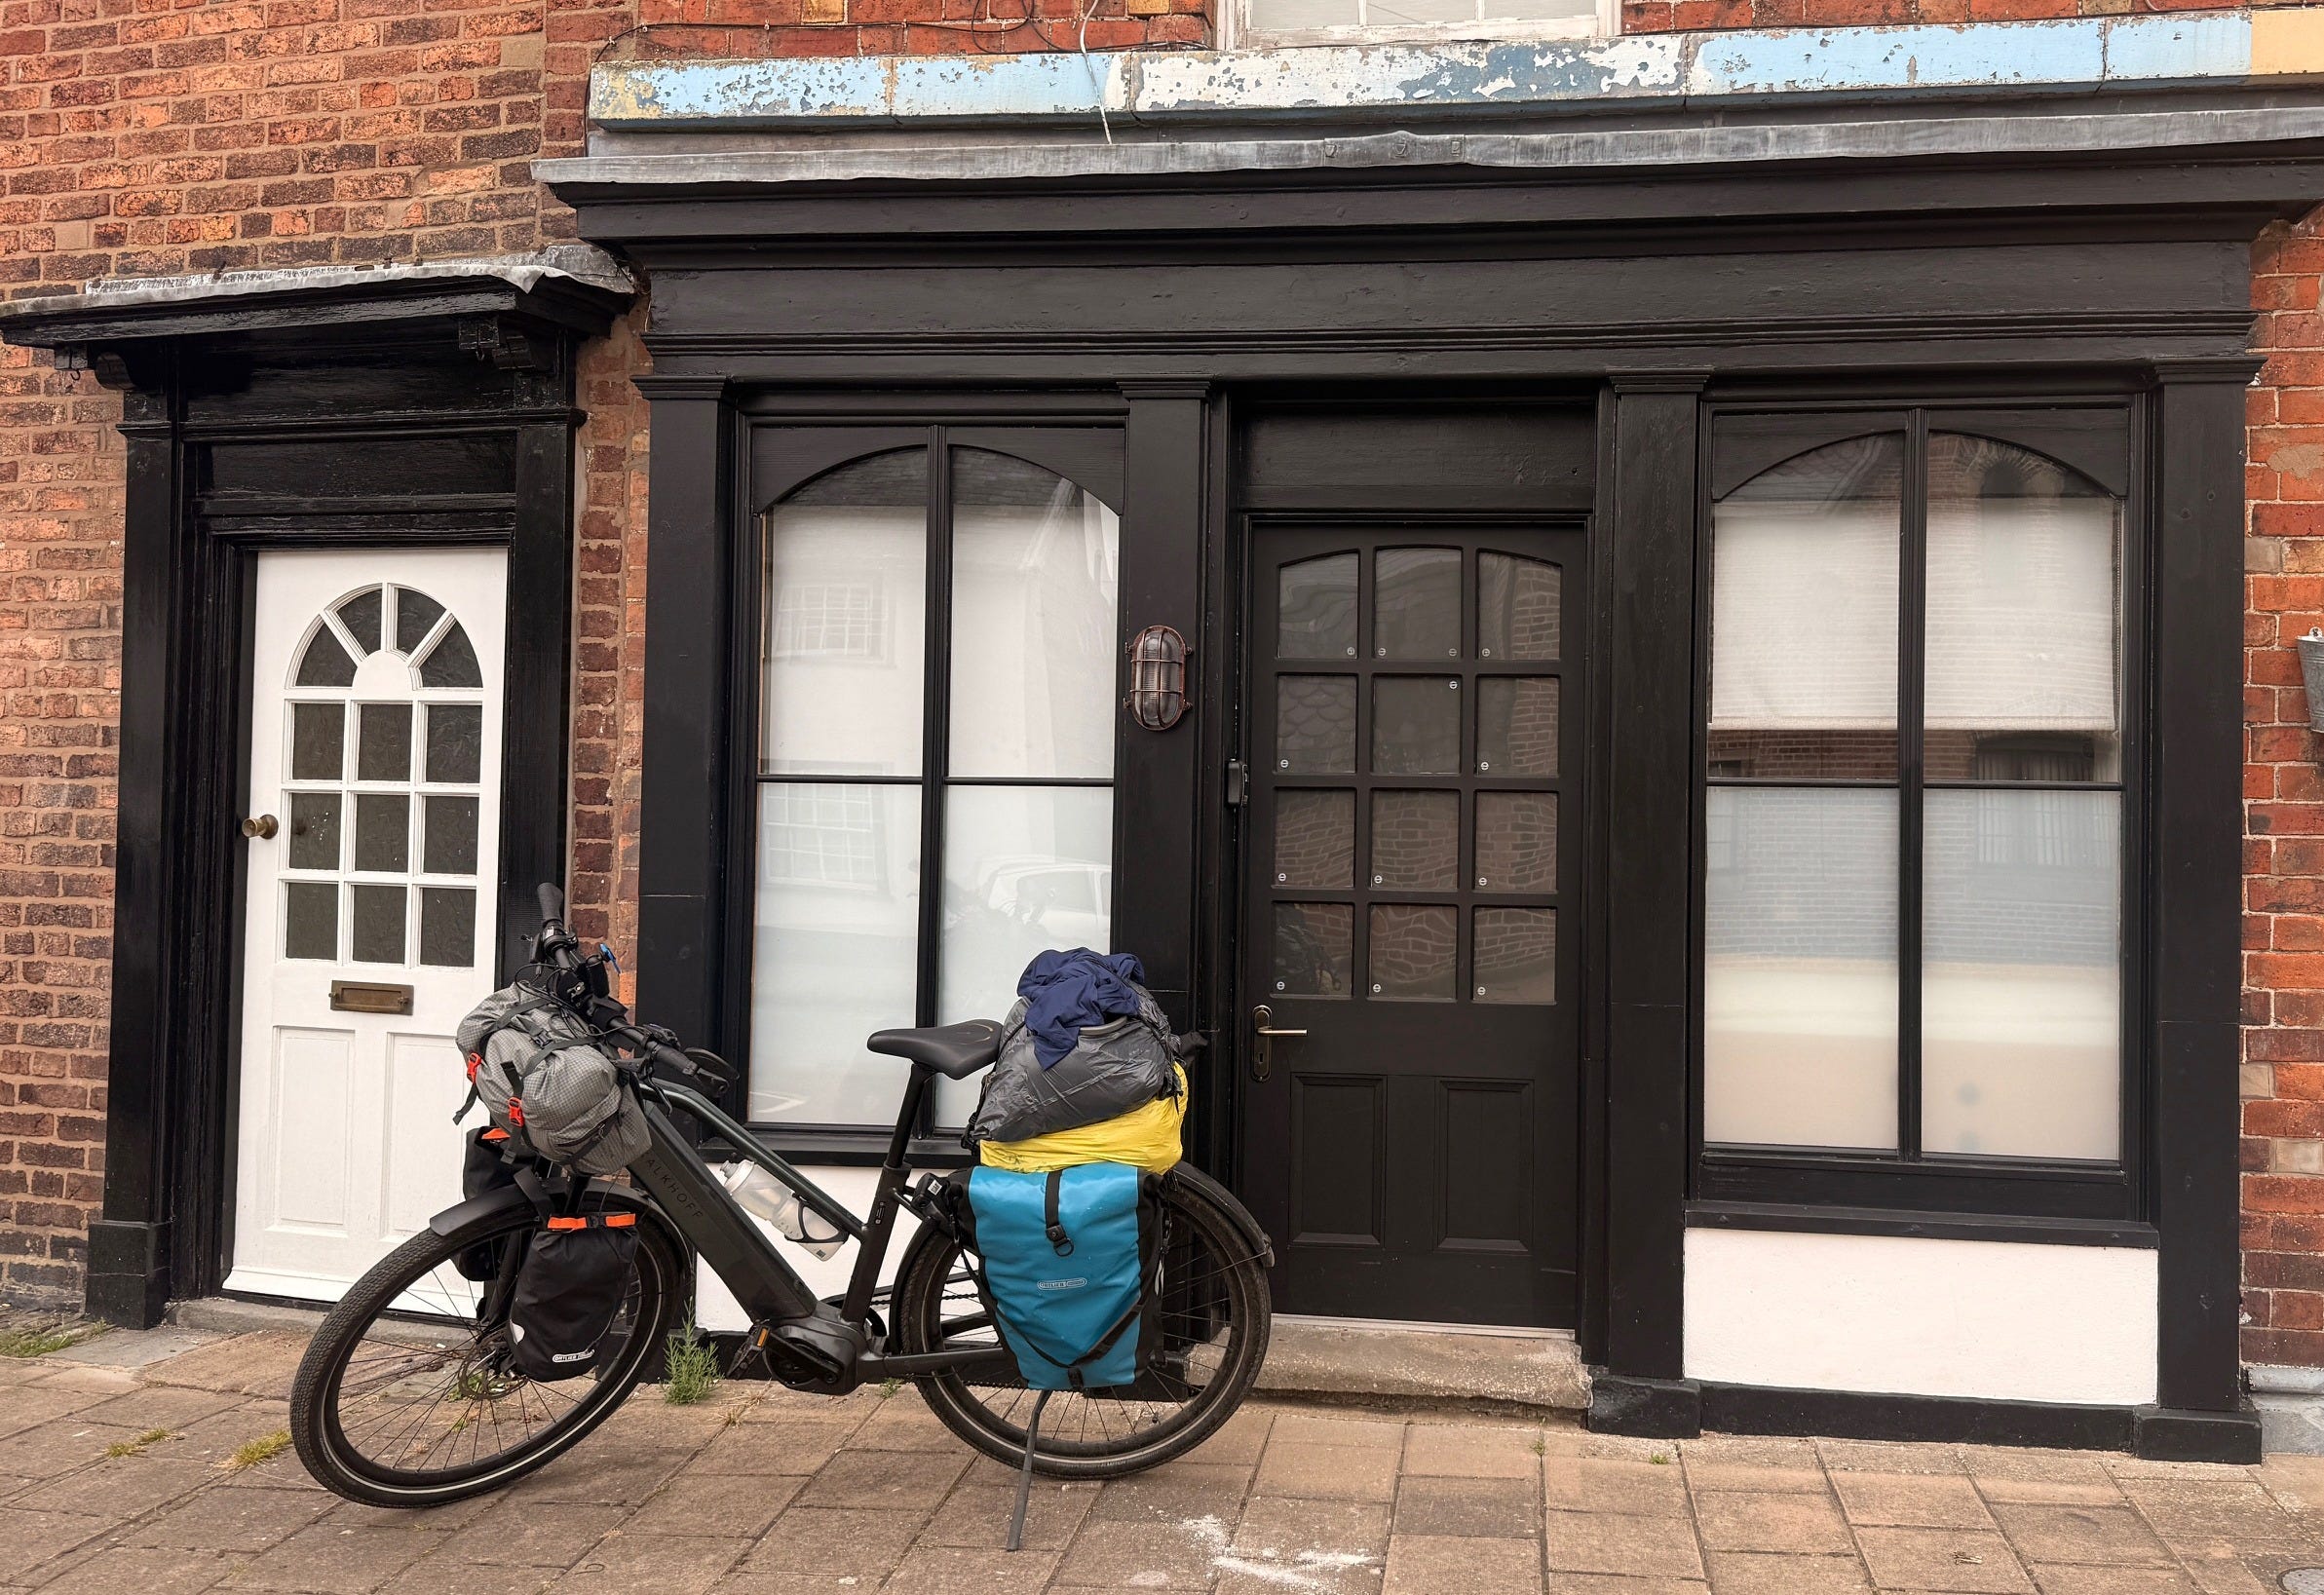
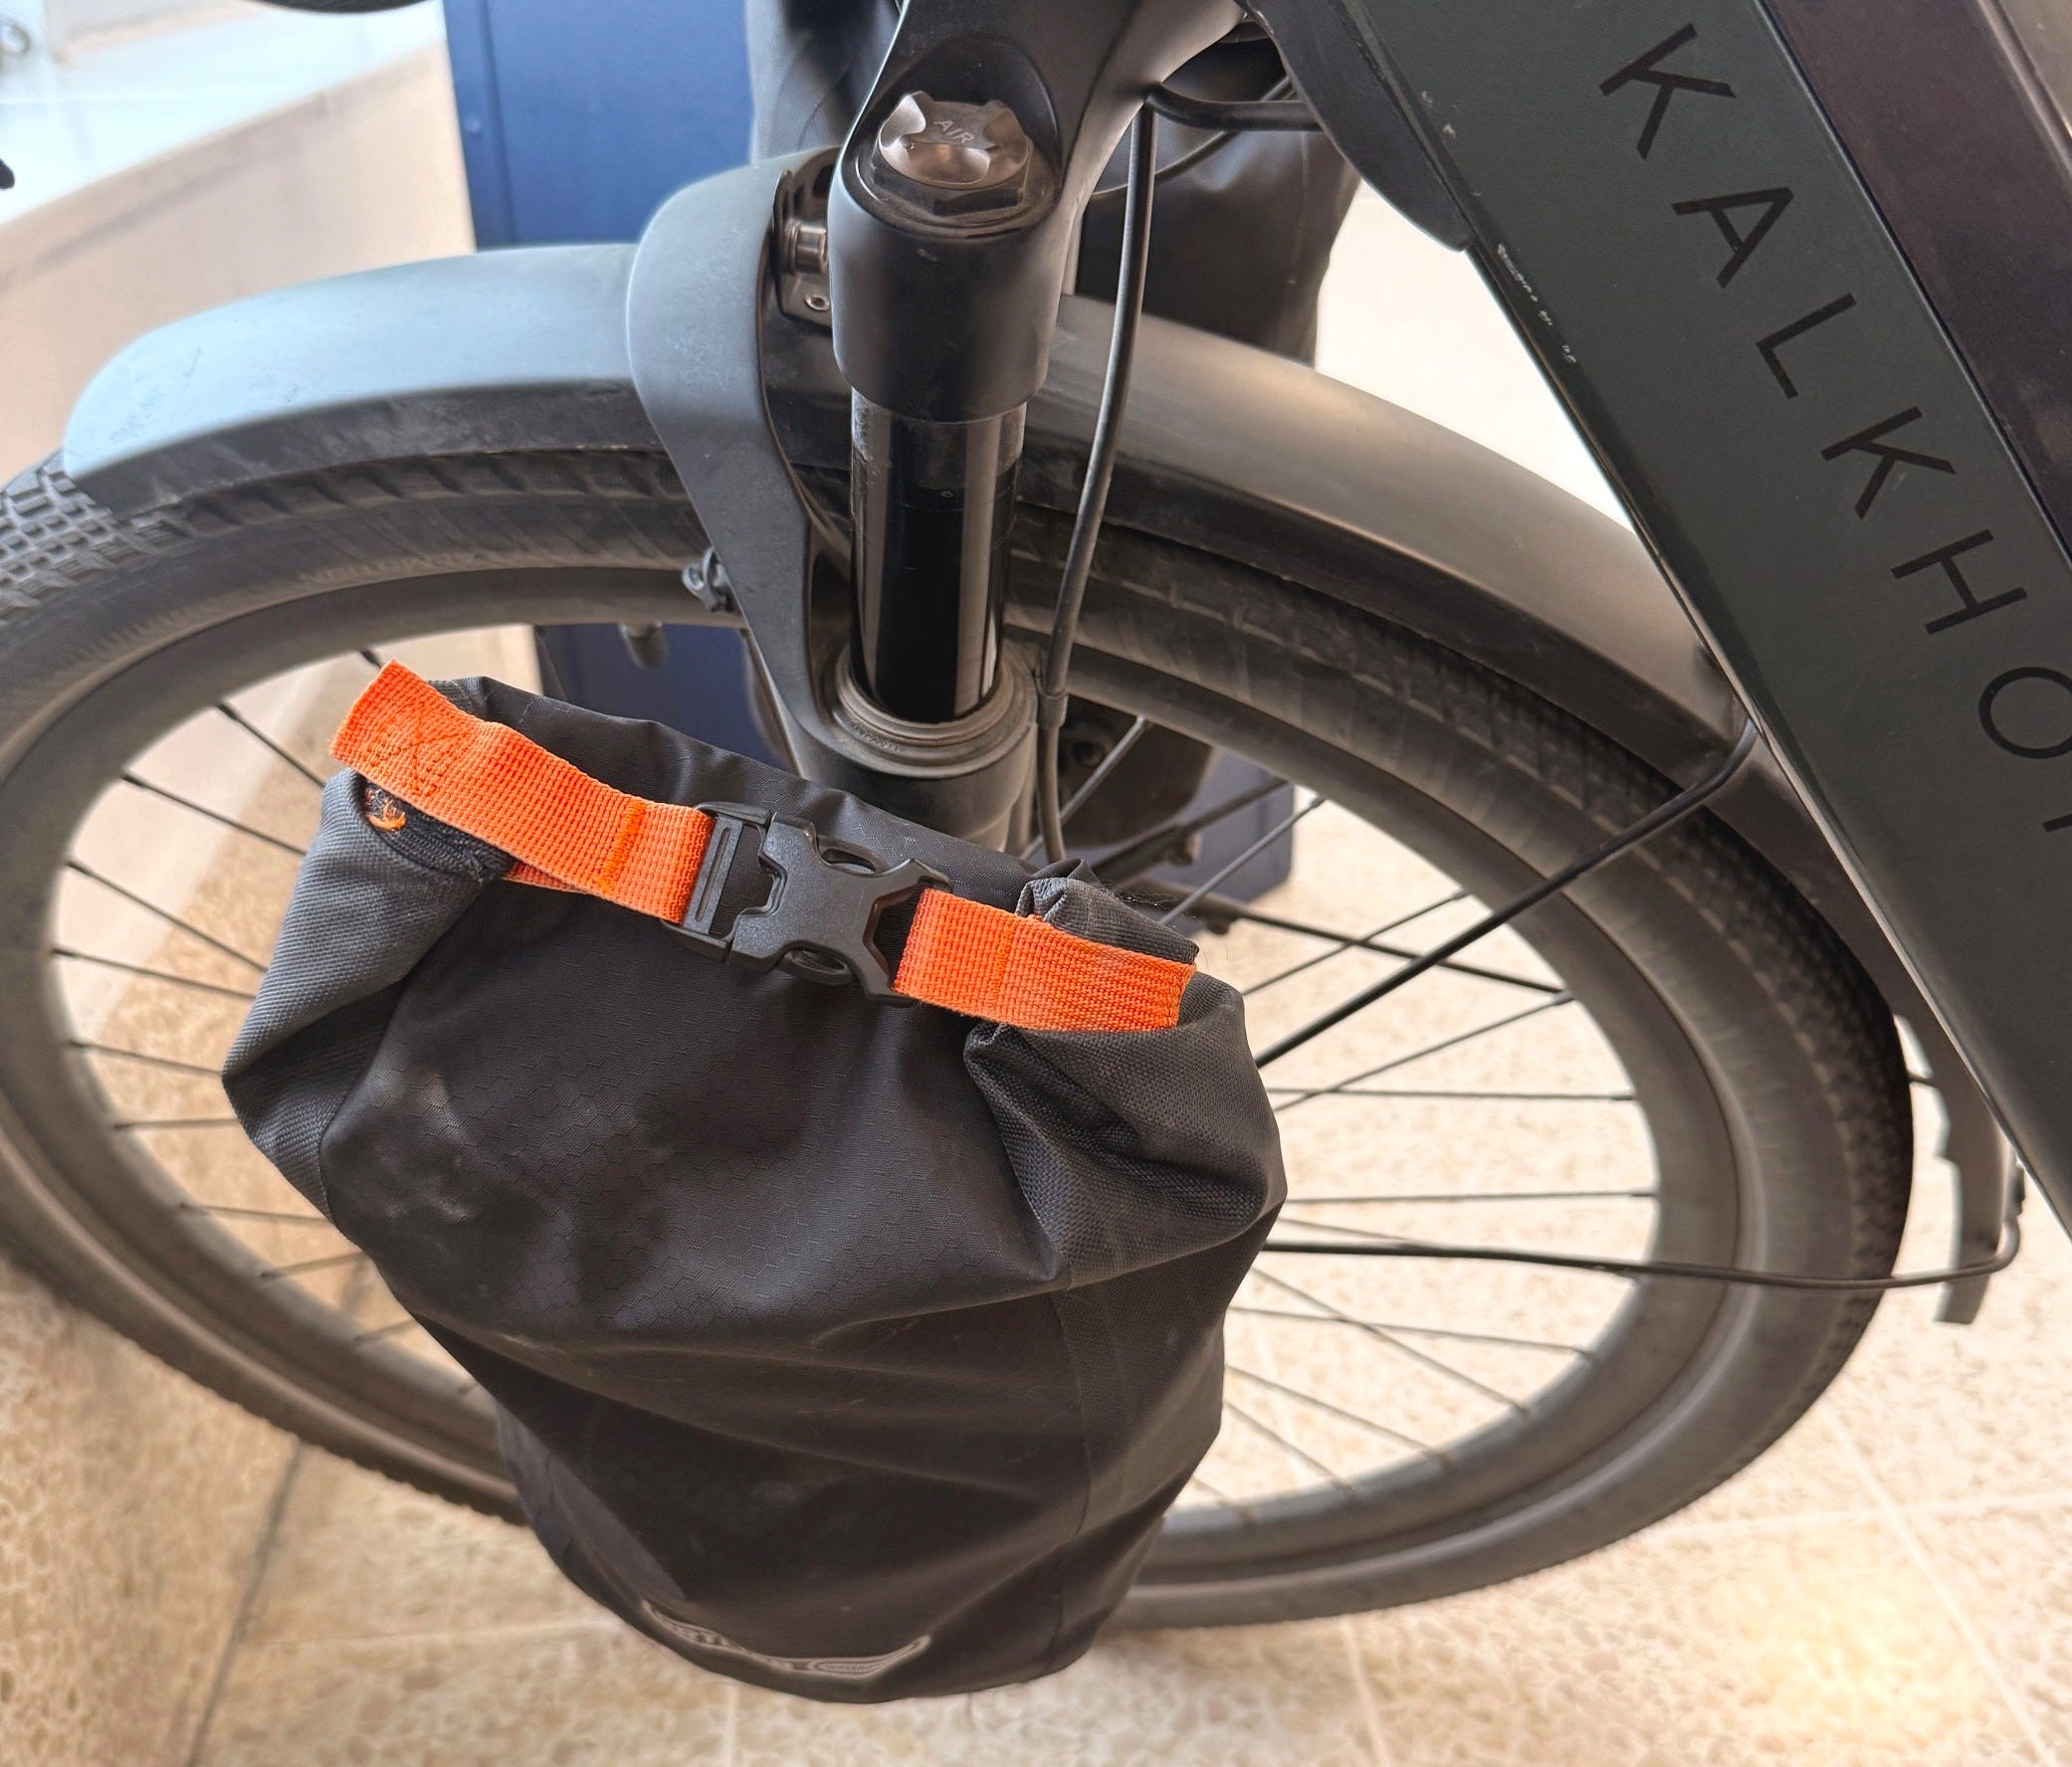
Bags. Last summer, I used Ortlieb rear packs, two of their smaller fork packs, and an REI handlebar bag. I also piled my camping gear on top of the rear rack (in a garbage bag) and secured it all with bungee cords. I’m planning to repeat—it was a good set-up. Weight distribution is much improved with fork packs since they move the weight forward and low for more stability. The rear rack is usually rated to 25kg, which is almost exactly the limit of the rear packs. With my camping gear, I’m pretty sure I overloaded the rear rack last summer, but the Kalkhoff held steady. Pack the handlebar bag lightly because weight there creates a force that pulls the bike into a turn as you lean. (I’m sure I also overloaded this after grocery trips.)
I’m not often brand-loyal, but I’m pretty sure I’ll use Ortlieb forever. My bags from the summer hardly show any use at all. They’re so easy to slide on and off the rack, and have a shoulder carrying strap to make the treks up narrow staircases a little easier. Ortlieb packs are solidly built, waterproof, easy to clean, and good looking. I recently bought a second set for my guests to use that are PVC-free. If I had more money, I’d buy the Ortlieb packing cubes to help keep things organized. And don’t forget to add 3-4 bungee cords or straps for tying things on the back.
Shoes. I’m putting this up front because I was completely wrong, and I think it’s very important and individualized. Before I bought my cycling shoes in France, my feet were killing me. I had hoped that my walking shoes would be okay, but the sole was not stiff enough.
I ended up buying a pair of cycling shoes for flat pedals, and keeping my running shoes and slides for showers and beaches. (I’m not going to promote clipless pedals – I don’t think they’re necessary and for touring, your shoes become a liability – slippery and uncomfortable as you heel-walk into a café.) Invest in a pair of cycling shoes that have a stiff sole; it’s more comfortable on the road because the pressure of pedaling isn’t concentrated in one part of your foot. Look at mountain bike shoes for something that’s more likely to be good for walking and cycling.
The walking shoes that you choose are up to you – whatever you need to comfortably stroll through a city for a day and are lightweight. The sandals or slides depend partly on your lodging – I was often in shared showers – and likelihood of beaches and swimming. One of your non-cycling shoes should be easy to slip on and off for around the camp or hotel.
Clothing. The choices can be bewildering, but keep in mind your limited space. I suggest:
On the bike
One merino wool top (or similar) for cold days and layering
T-shirts or blouses for daily wear (2-3) or jerseys, if you prefer. (If you have a favorite cycling shirt, comment below)
Cycling shorts with padded chamois OR padded underwear and regular shorts (2)
Long pants for cycling in the cold and wearing around town (1)
Warm layer, like a wool sweater or fleece
Merino socks (3)
Sports bras (2)
Rain cape or jacket. I love my Cleverhood Rain Cape.
Thin baseball hat for under your helmet (sun & rain protection)
Bandana (2) to wrap around your neck to protect your neck from the sun or keep you warm.
Cycling gloves – optional but I like the padded ones.
Helmet, of course
Reflective vest, unless you’re in the Netherlands and want to avoid looking like a dweeb.
Off the bike
T-shirts or casual shirt (2-3)
Long pants (possibly the same from above)
Underwear (4-5)
Extra warm layer like a packable down jacket
Warm socks for getting cozy at night (1)
Long underwear, depending on weather.
Swimsuit
Warm hat for sleeping.
Most important piece of clothing: good cycling shorts. I like Terry shorts (designed for women) but you’ll have to test and find what works for you and your precious bits. I washed my cycling shorts when I took a shower every evening and they were mostly dry in the morning. If not, I’d strap them to the top of my bags and they’d quickly dry in the wind and sun. Merino wool (underlayer and socks) is miraculous and will usually be dry in the morning after you wash it, but if you wear it a few days in a row it doesn’t stink. I will only wear Merino socks on future trips.
On cold days I had (1) merino underlayer; (2) shirt; (3) sweater. On wet (not cold) days I wore (1) merino underlayer; (2) rain cape. On nice days (nearly every day) I wore a T-shirt or a linen blouse. I wore my bandana most days to keep my neck from sunburn and provide a cover for helmet hair in a restaurant. My rain cape was in my front fork bag, ready to pop on if needed. Many packing lists include a lightweight wind jacket. I had one but never wore it so it’s not on my list.
And while your outfit might look a little unconventional, untidy, or grubby some days, know that you actually look like a badass cyclist.
Other stuff. I’ve always used packing cubes or sacks, so I’m a big fan of using a color-coded method to keep track of your stuff. Staying organized is a daily challenge, and it helps to have designated, labeled bags and a consistent order for packing.
Sunglasses, reading glasses, lanyard, and cases
Sleep sack if you’ll need it for hostels
Lightweight towel (multiple uses)
Packable backpack and/or shopping bag
Nylon tarp that rolls up small for hanging out in a park or on the beach
Two water bottles
Bike lock and two sets of keys
Bowl, mug, and cutlery
First aid kit (more in a future post)
Toiletry bag with essentials.
Sacks to keep your stuff organized.
Tools and bike equipment. As bikes have evolved, so have the tools to service them. Bikepackers have developed lightweight compact kits you’ll need for longer trips. However, for a one-month trip on a busy Eurovelo route, unless you’re a gearhead, your list is pretty basic. My toolkit includes:
Spare inner tube and patch kit with tire boot
Small frame pump and/or CO2 inflator
A set of allen wrenches
Derailleur hanger that fits your bike
Tire levers made for e-bike tires, like Pedro’s
Chain quick-links for your bike
Tire gauge
Small roll of electrical tape
Multitool with screwdriver and knife
Chain lube and rag
The bike charger.
Last summer, the only repair I needed in 4200km was to fix a flat tire in the Netherlands. This is where I learned that e-bike tires are a LOT thicker and tighter than ordinary bike tires, and my tire levers and thumbs were inadequate. I’ve been told that getting better tire levers will help, but the fact is that it’s not easy. I ended up getting a ride to the nearest town where they fixed it in minutes. If you are able to repair your tire roadside, you’ll need to pump it back up. The small frame pump will require about 200 strokes, so the CO2 inflator would be handy.
If your chain breaks, the chain quick-link (master link) keeps you from being stranded because you can reconnect it without tools. Make sure you buy one that’s compatible with your bike.
Daily chain maintenance: Every day, wipe the chain with a rag by holding it lightly against the chain and pedaling backwards. If the rag comes off black, lube it. Let the chain air dry for a few minutes (wiping alone doesn’t get enough moisture out) and then use a quality e-bike lube like Muc-off Wet or Silca Synergetic. Apply a drop of lube to each link while pedalling slowly, let it sit a few minutes, and wipe off the excess so it doesn’t attract dirt. (It helps to have a friend hold the back of the bike up while you do this.)
Before your first trip, take a local class or look up some YouTube videos so you have an idea how to use these tools and do basic repair and maintenance. If you’ve never changed a tire, do it at least once to practice. (More on daily maintenance during the trip in another post.)
Navigation & electronics. My favorite is Komoot, but you can also use the Flow app for Bosch motors, Cycle Travel, RideWithGPS, Radroutenplaner for Germany, or Fietsnetwerk for the Netherlands. Once you pick one, stick with it so you can keep track of your travel. I started my trip last summer using RideWithGPS with downloaded GPX routes from the La Vélodyssée website. But I had some issues a few times when it sent me down closed roads and into industrial areas, and I found that Komoot was more reliable. (And keep your head up and pay attention. Don’t allow yourself to get so lost in the audiobook that you ride 25km in the wrong direction. Not that I would know about that.)
When you buy or rent an e-bike with a Bosch motor, you’ll download the Flow app as your dashboard and security. It will plan and import routes, show your progress on a map, track trip data, secure your bike, customize your riding modes, configure your display, and get software updates. You can choose between commuter (direct route), leisure (more scenic and bike-friendly), and terrain, for a flatter route. On my Kalkhoff and my Cube, a Kiox display shows ride and bike data and a rudimentary directional map. I rarely used it for navigation – preferring the Flow app (or Komoot) and visual of the map on my phone.
I used a Quad Lock phone holder last summer and loved it. But my newest gadget is the Bosch Smartphone Grip, which replaces the Kiox display on its holder, grips your phone, AND charges it. This is a game changer, since the alternative is to bring two or three power banks, charge them at night, and use them to keep your phone alive during the day. A dead phone is not good. I never had paper maps so would have been in trouble if my phone died.
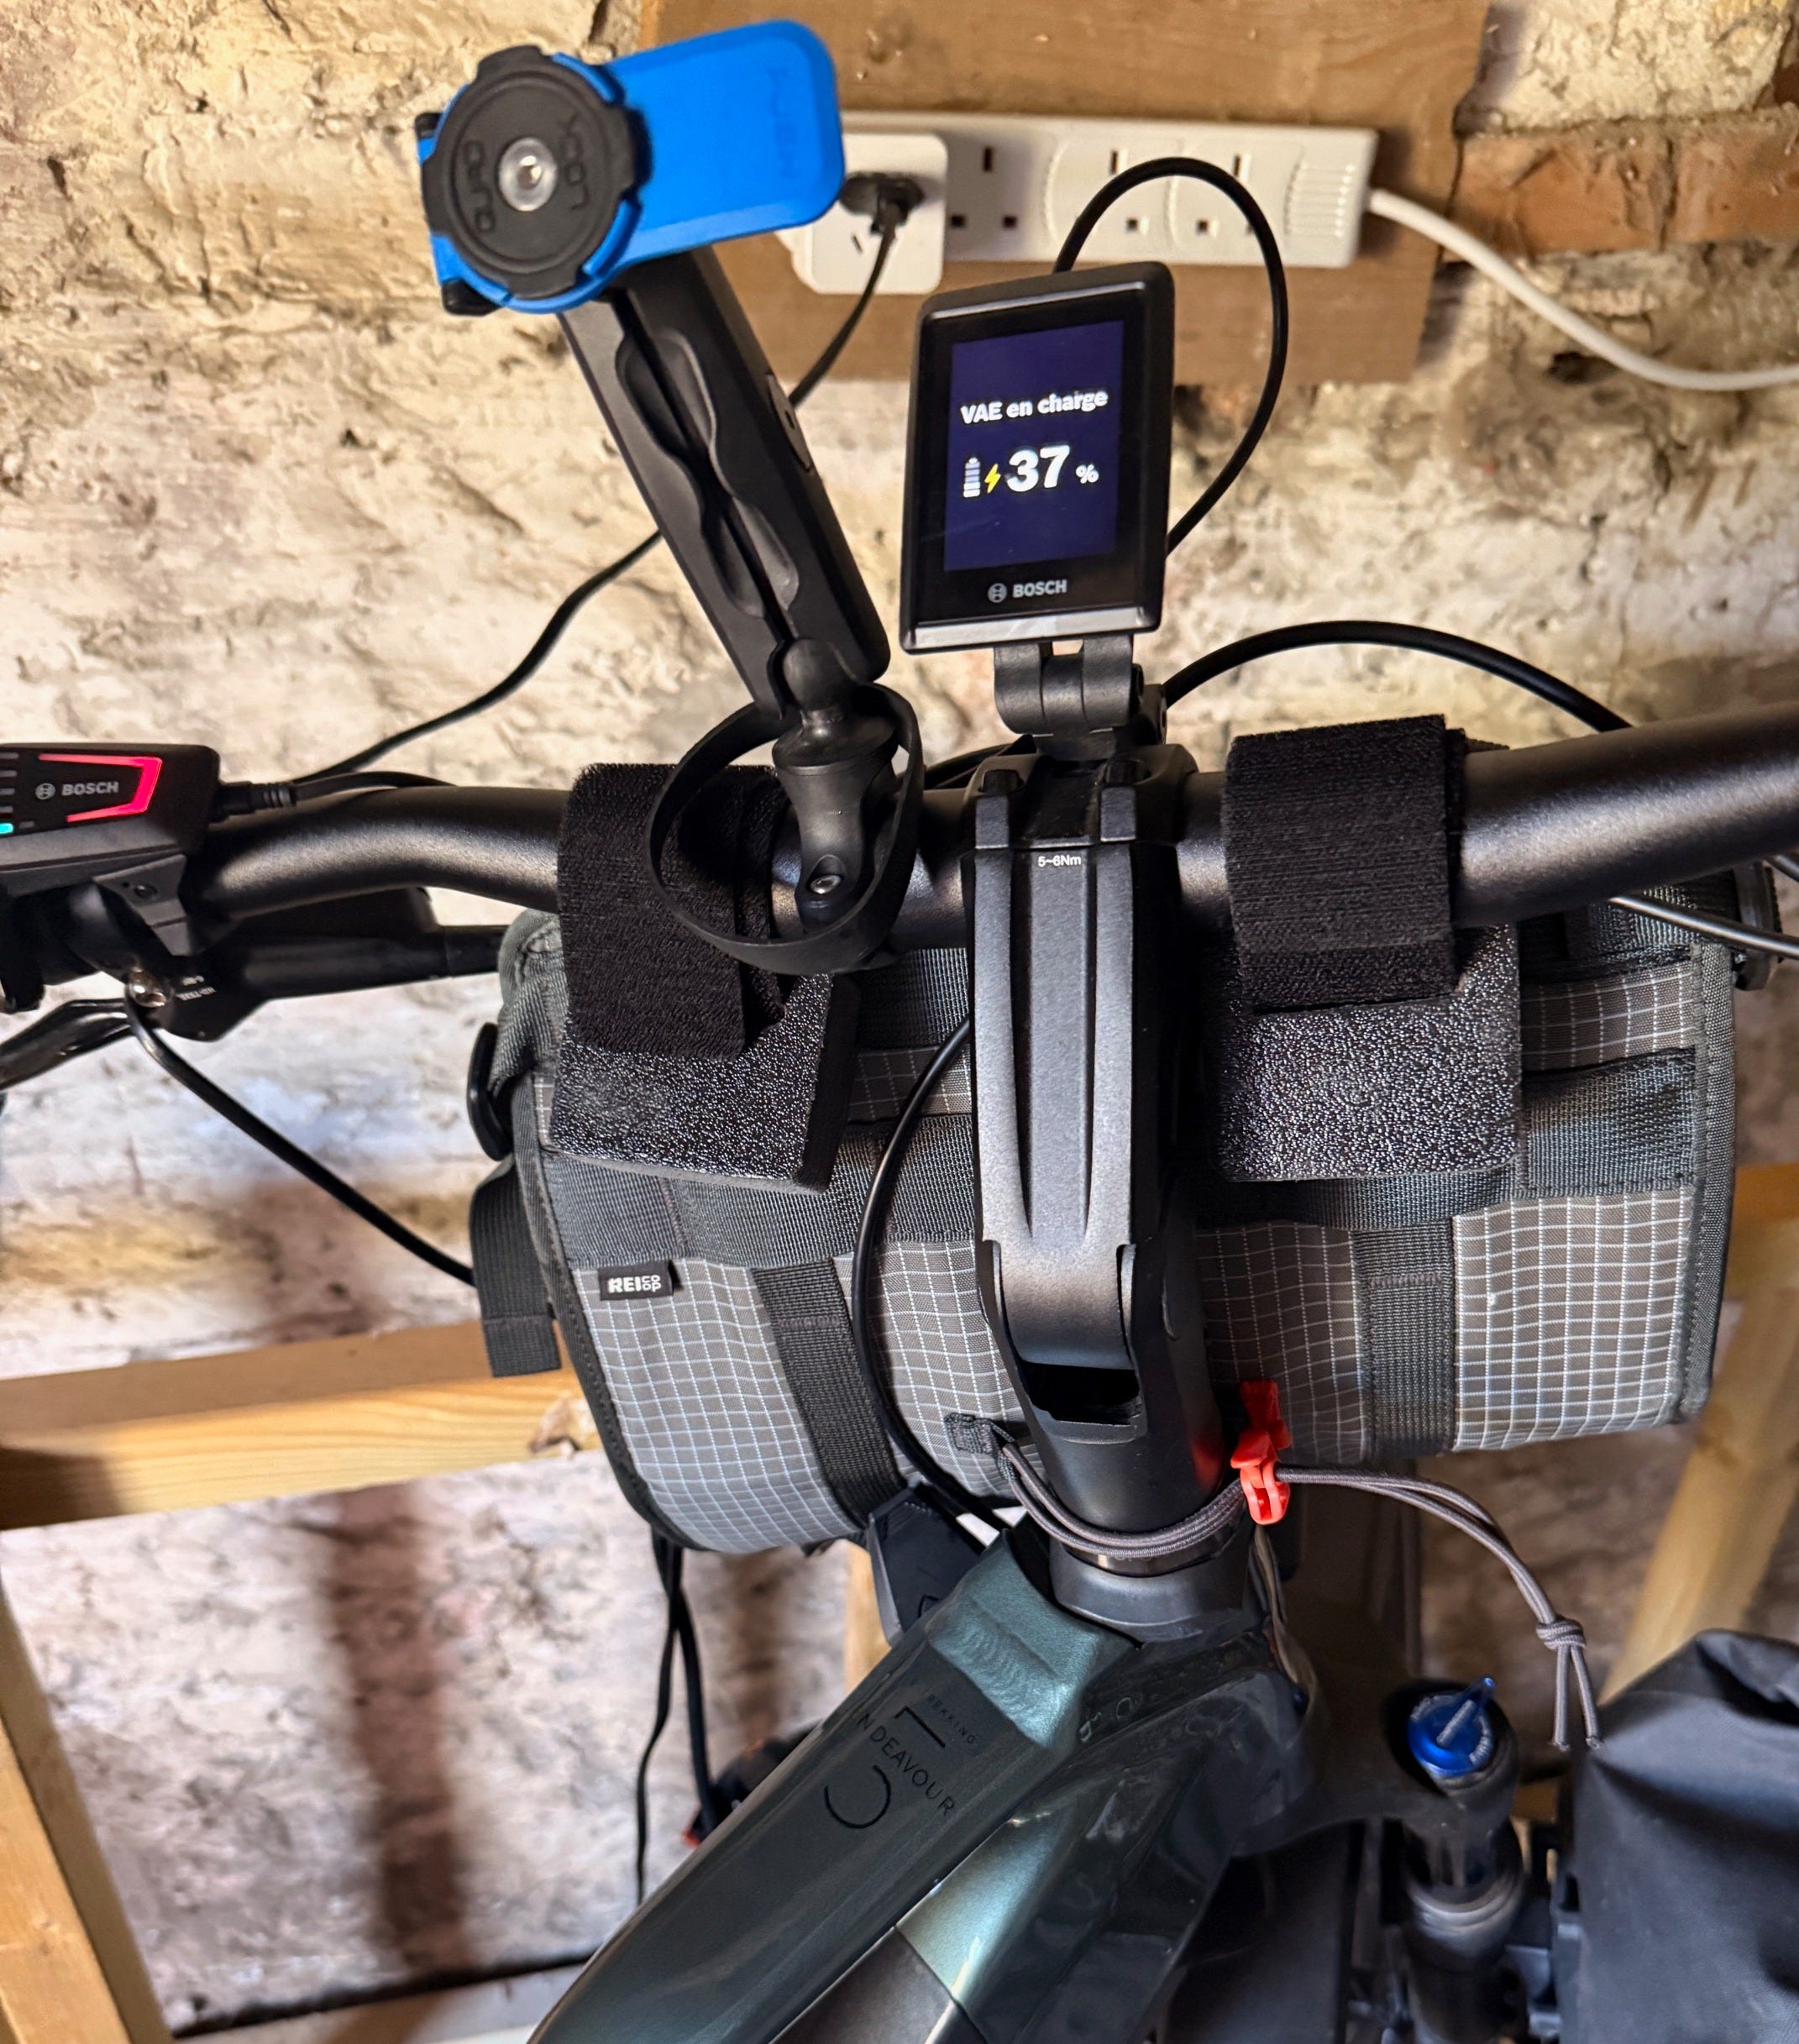
I usually rode with a Bluetooth earbud in one ear so I could listen to the navigation (and audiobooks) as I rode. It depends entirely on the terrain and your preferences – you may be able to follow the map on your screen, but often the talking guidance is helpful. I’d stuff the power banks in my handlebar bag with a cord leading to my phone while I rode.
Other electronics to bring include chargers for your phone, earbuds, and power banks for the hotels.
Camping. If you’re planning on camping, you know what to bring. You don’t need ultralight but compact definitely helps. I put my tent, sleeping pad, and sleeping bag into a garbage bag and tied it down on the rack, but you can also buy a dry bag for better protection. The more luxe you like your camping (espresso maker, pillow, cook set), the more stuff you’ll bring, and this is where the extra weight really comes in. I would not camp without these chairs for hanging at the site. There wasn’t a single picnic table at a campsite I stayed in.
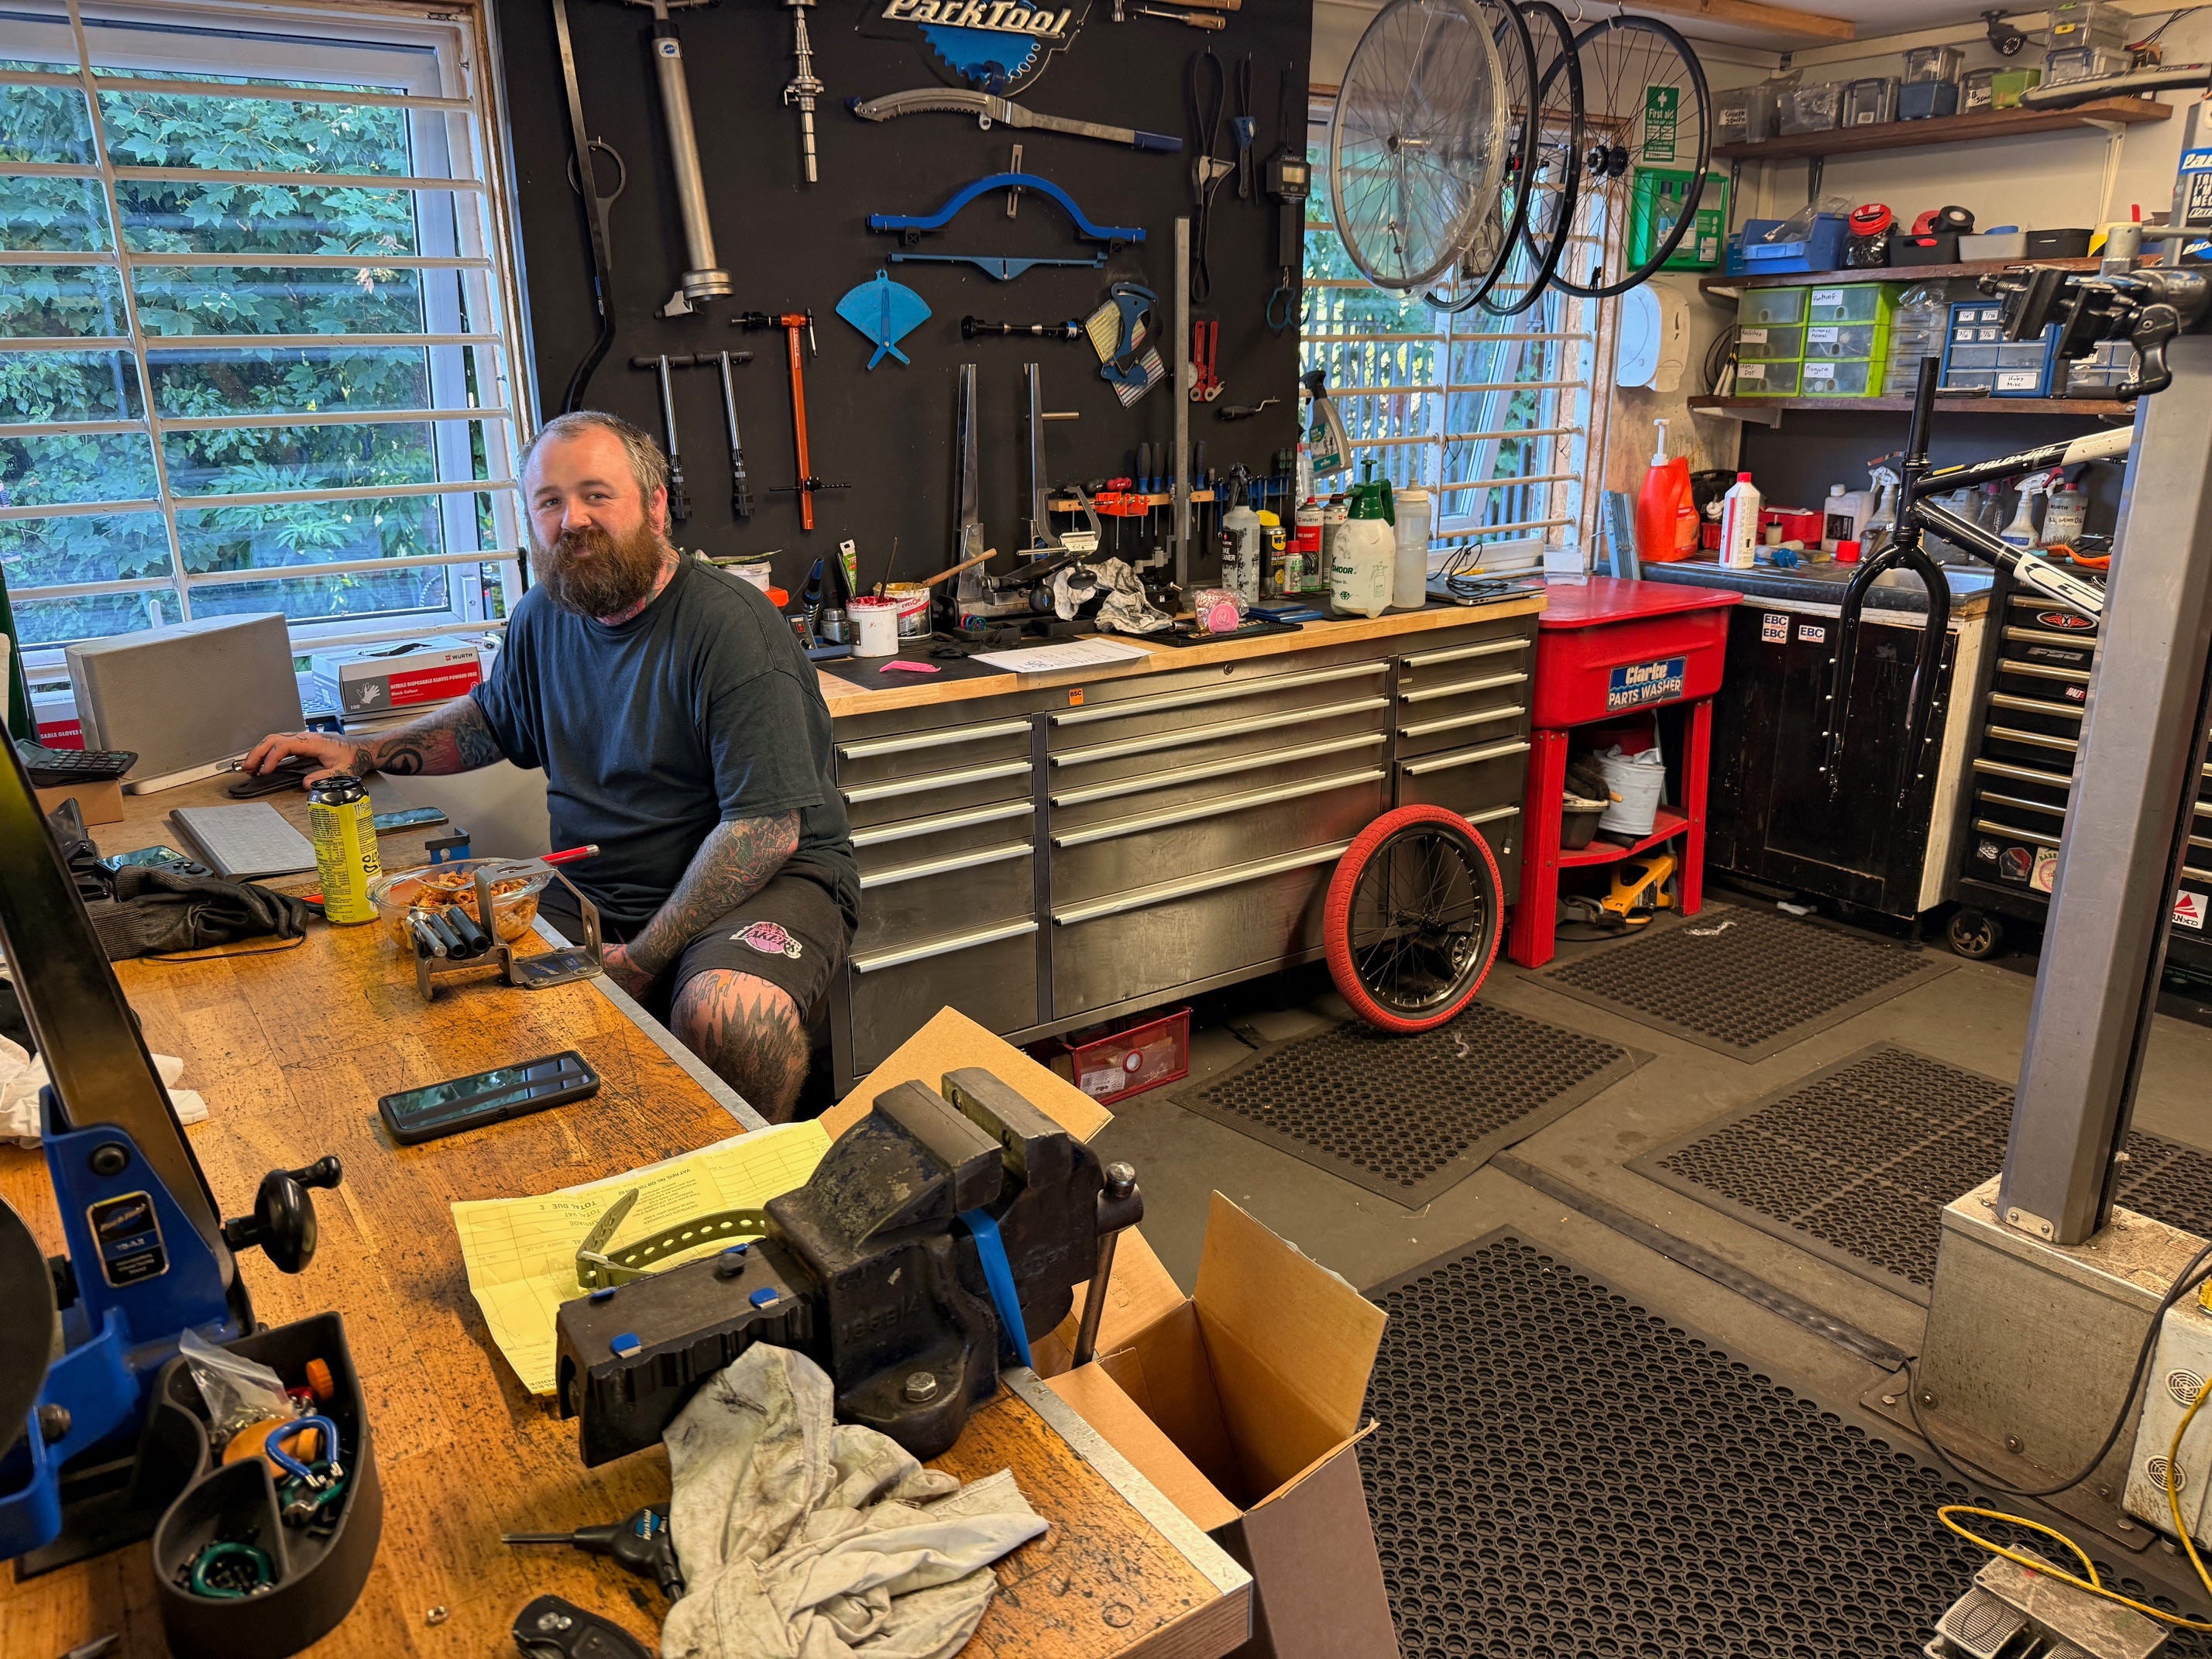
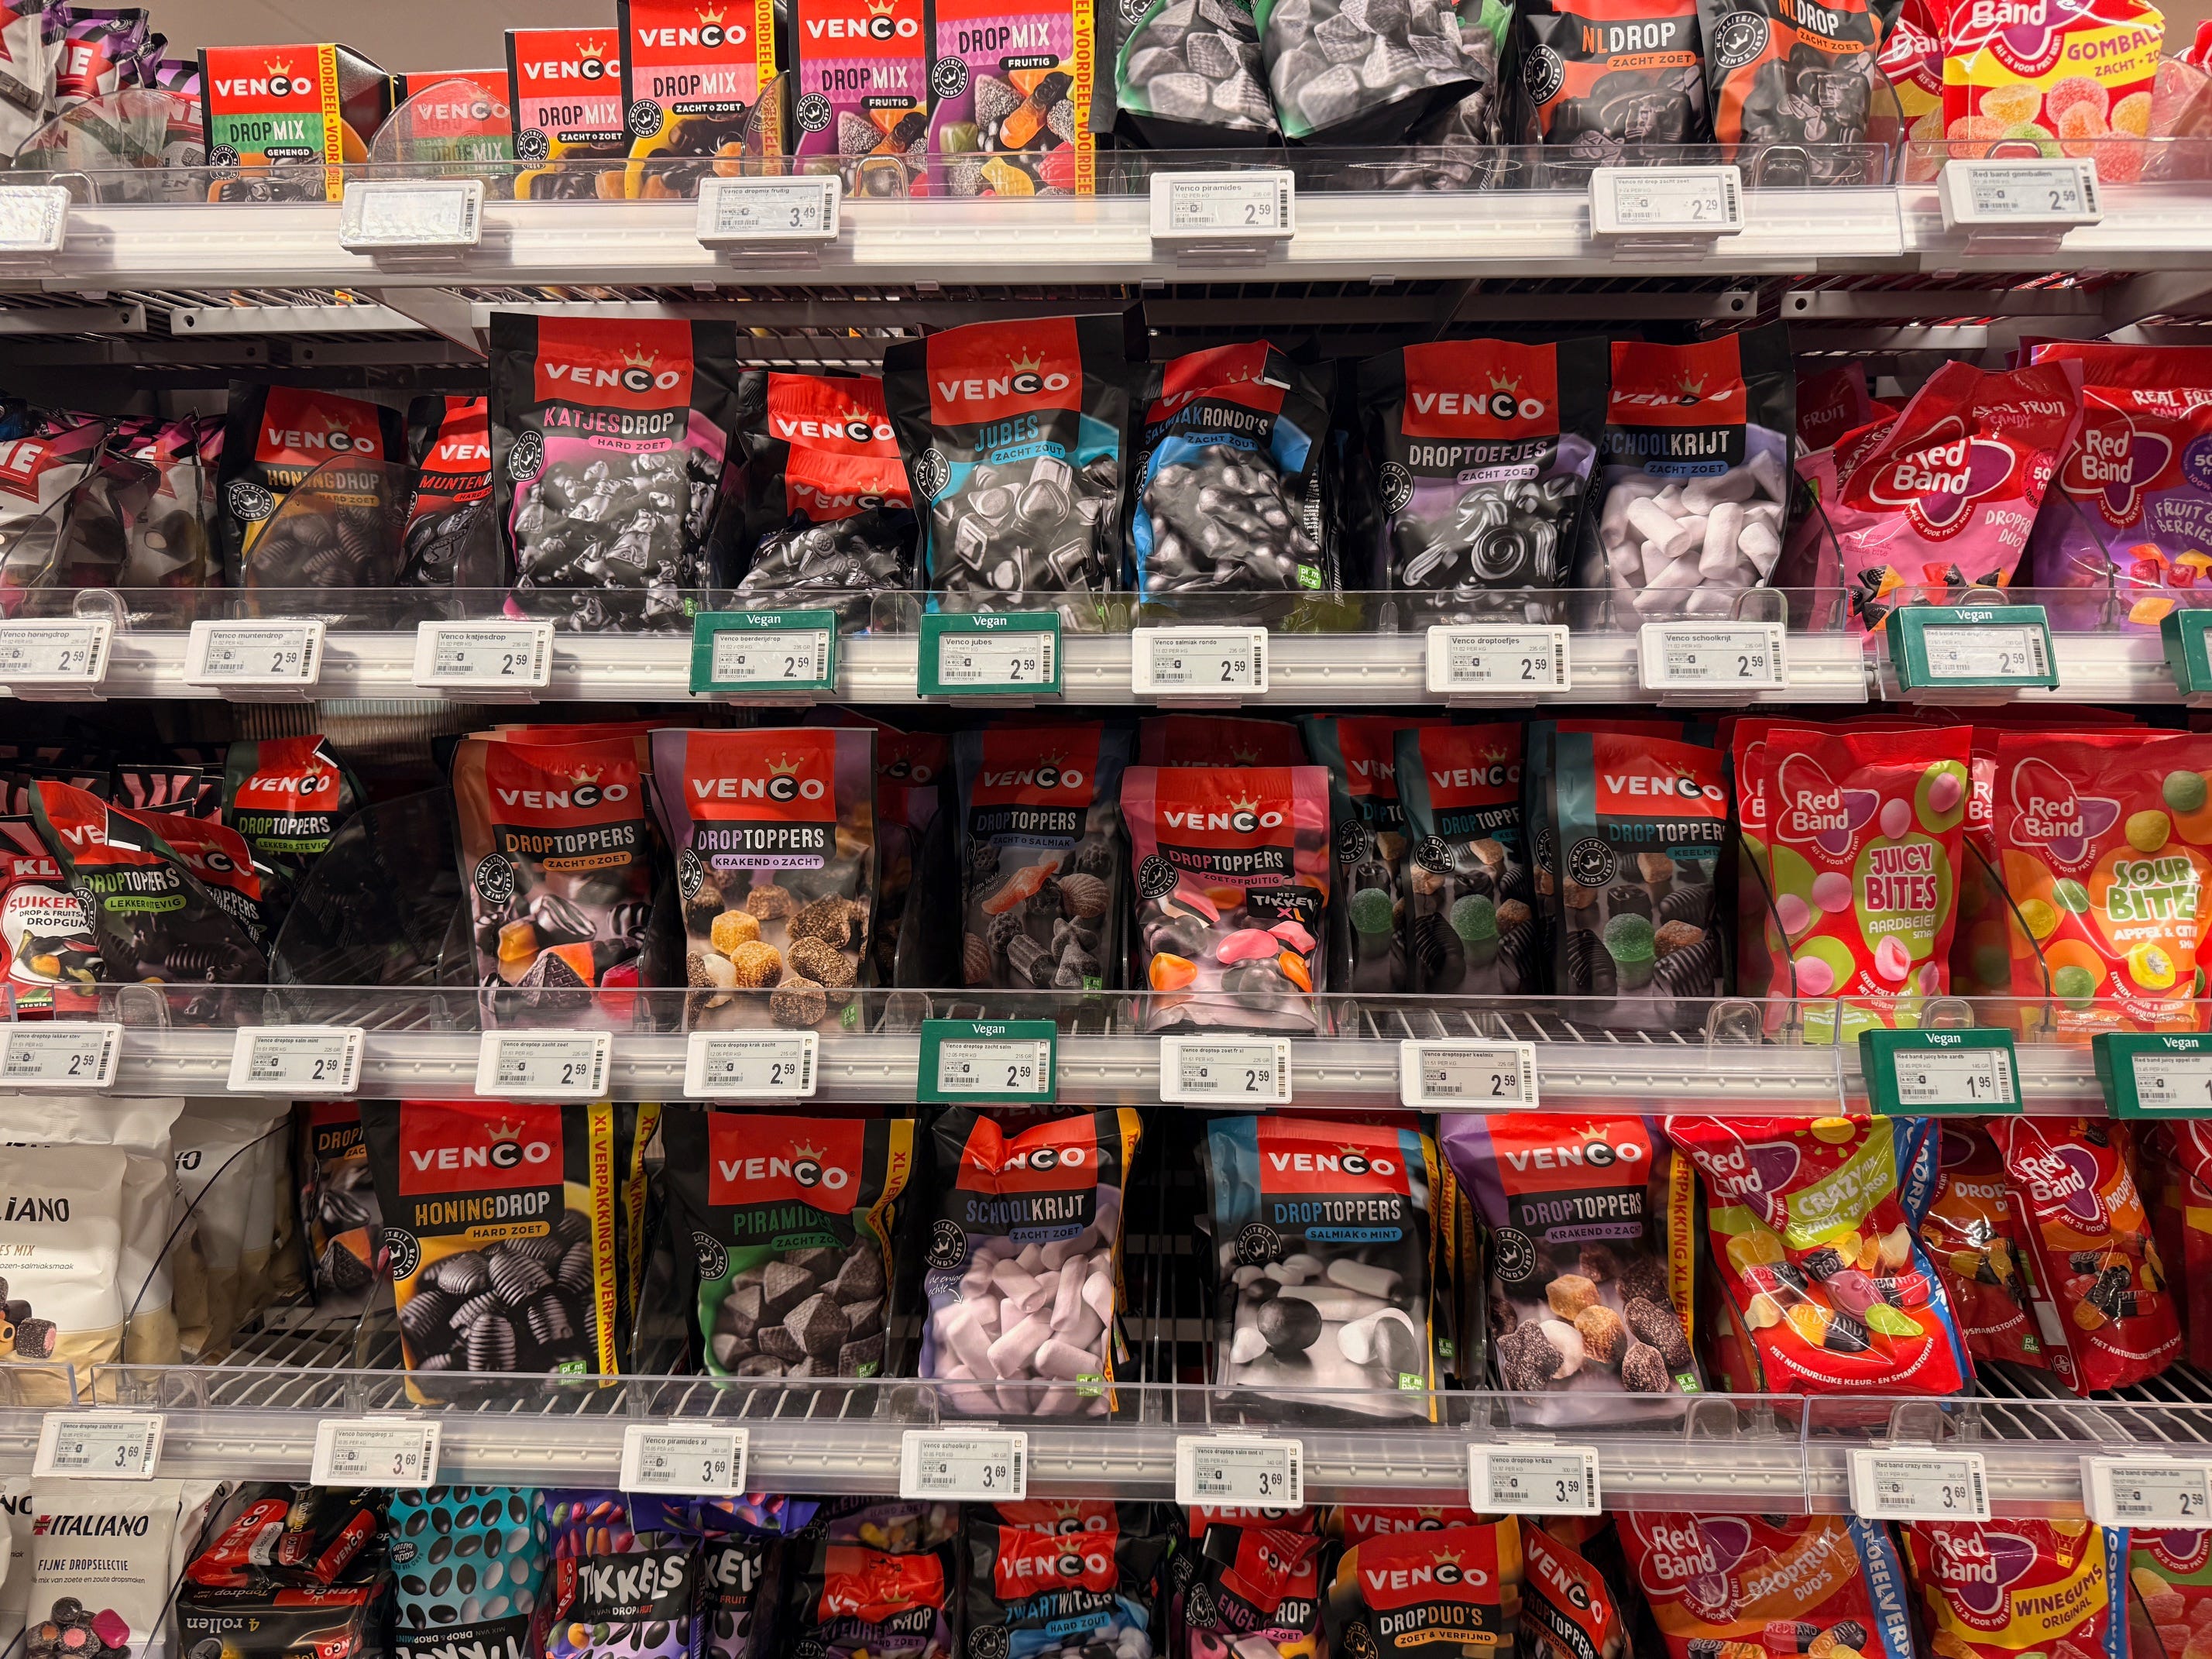
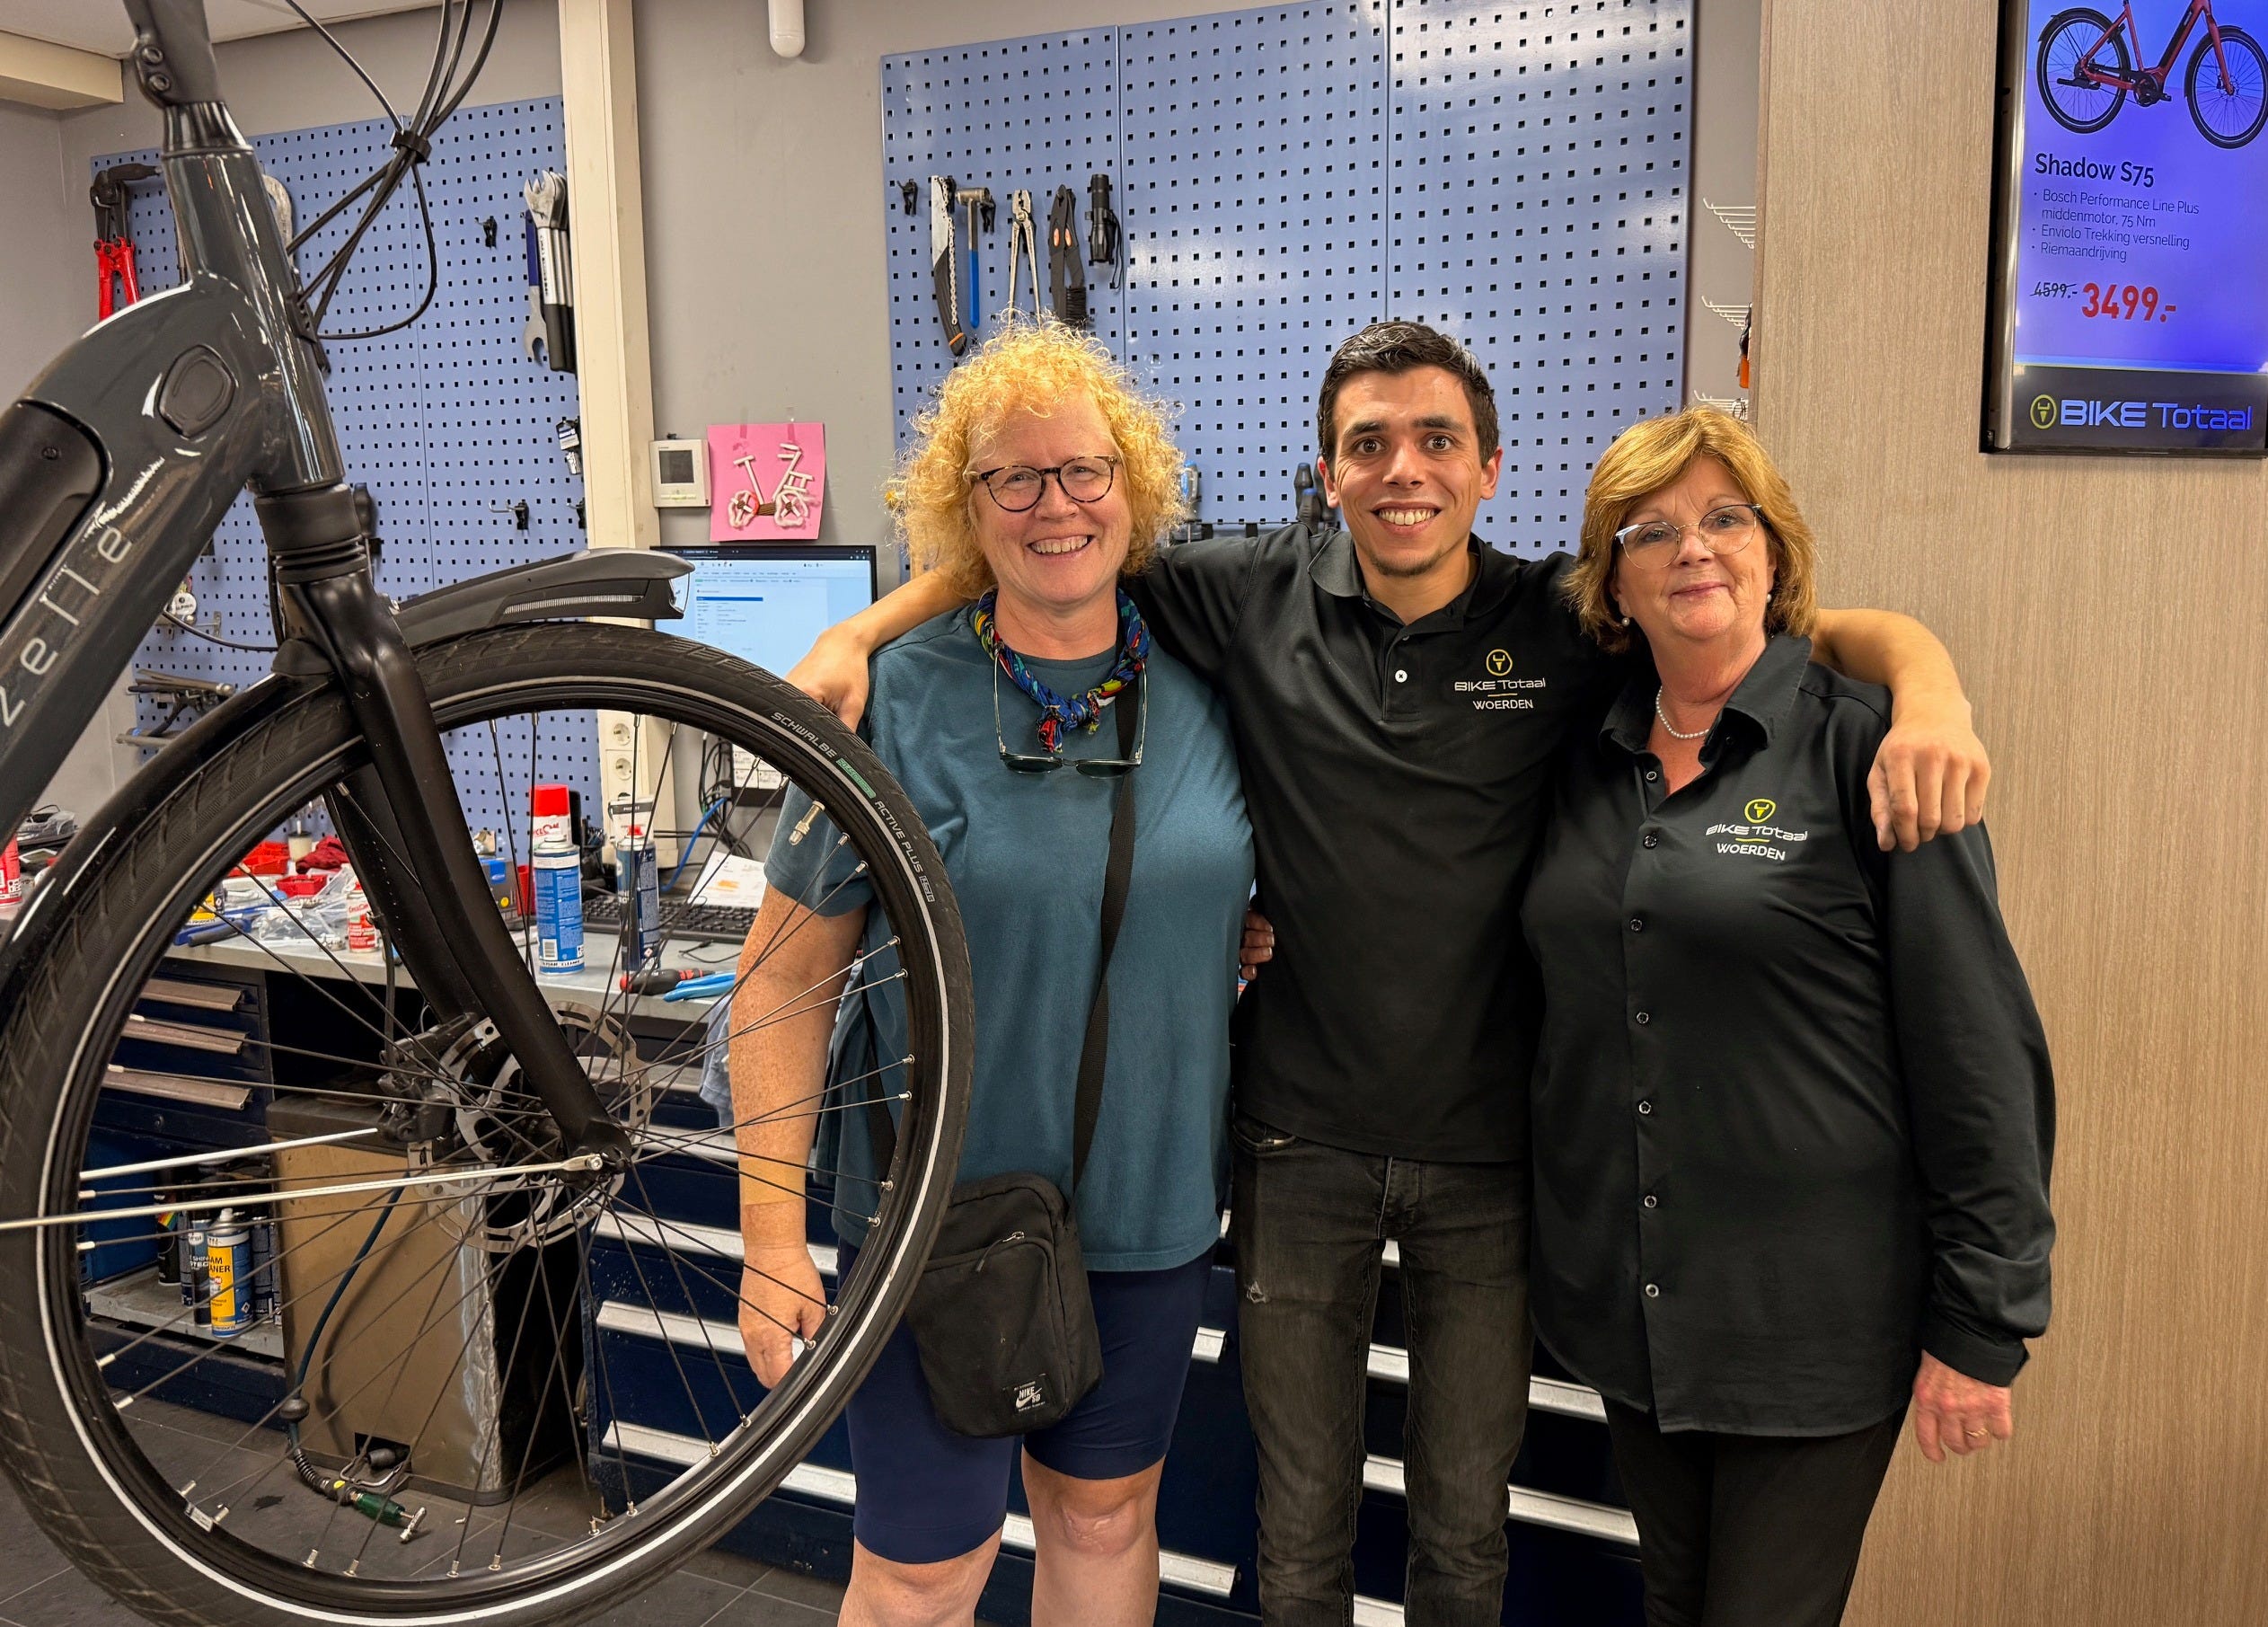
Don’t sweat it. If you’re in Europe, there are shops everywhere and you can buy pretty much everything you need. You can even order online and arrange for pick up at a post office. I once had equipment delivered to a hotel where I had reservations. Decathlon is the dream store for cyclists, with reasonable prices on nearly anything a cyclist needs. But if you can, go to a local bike shop for friendly, expert service. Most also have a hand tire pump or compressor outside that you can use for free. (But rarely a gauge.) Basically, you can buy or order pretty much everything you need if you’ve forgotten something or need a change. And it’s fun to cruise second hand stores for a change of clothes or new bandana.
Do you have anything to add or any questions? Comment below. I love to hear about favorite cycling shirts or shorts or gear I haven’t discovered.
In the next few posts, I’ll cover navigation in more details, costs, and health and fitness.
Wow! What a thorough list. We're ready to go! What other e-Jane trips can we sign up for this summer?
I fully love your list and concur 100%! Agree that clipless pedals (SPD's) aren't necessary and if you're not completely comfortable with them, don't use them. BUT ... I am a big fan of old-fashioned pedal cages. They are cheap and safe, you can slip your feet out of them easily, and they increase your pedalling efficiency (and muscle strength) by 15% without your even noticing. Keep them loose and they will fit any shoe.